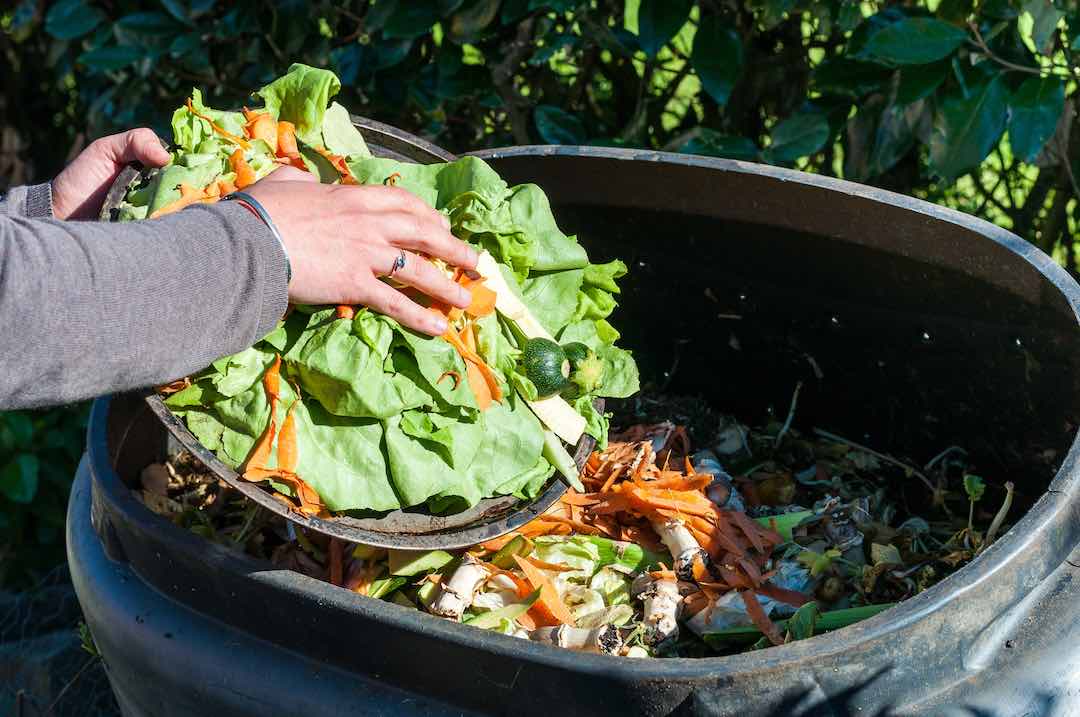
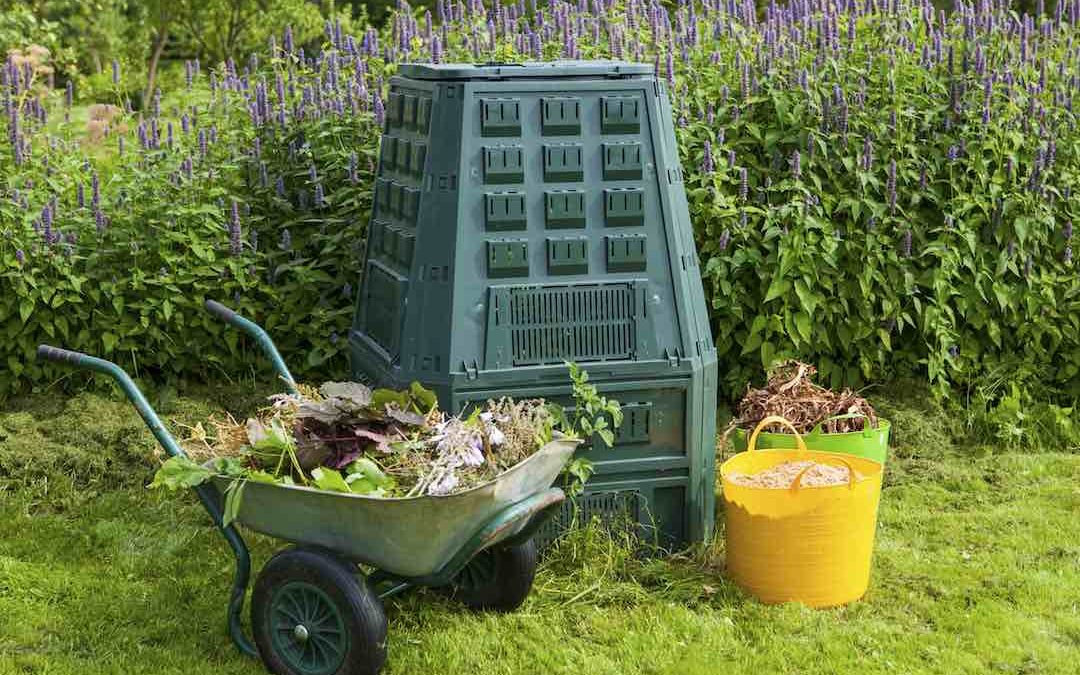
Composting is one easy way to reduce our contribution to waste while also ensuring we have healthy, beneficial, nutrient-rich soil to use for our home gardens. We’ve written an article Composting Made Easy to fill you in on all the important information about composting. Compost is decaying organic matter turned into nutrient-rich soil through mimicking the cycle of recycling that would occur in nature in a faster, more controlled manner. As we shared in Composting Made Easy, specifically composting is helpful because:
“The Environmental Protection Agency estimates that our food scraps and yard waste account for roughly twenty to thirty percent of what we throw away. Diverting this waste from the landfill reduces methane emissions and ensures us a free source of high-quality soil. “
Hot Composting
There are a few key things to know about composting, such as what it’s made from, what ratios are necessary, and how to contain it. Compost is made from biodegradable materials such as food scraps, lawn clippings, dried leaves, paper, coffee grounds etc. Composting known as hot composting is when you use specific ratios of these items to create compost faster. This method of composting requires a bit more attention than just having a pile or bin that you throw things in when necessary. Hot composting relies on appropriate ratios of carbon rich and nitrogen rich items to expedite the process while ensuring a healthy compost. As we shared in our Composting Made Easy article:
“The greens are the moist, nitrogen-rich kitchen scraps, and yard clippings that go into your compost. The browns are the dry, carbon-rich leaves, straw, paper, and twigs. This combination of matter is crucial to creating a healthy soil that can help plants become more disease resistant, more pest resistant and have a higher nutrient content. The greens and browns work most efficiently when mixed together in a ratio of two parts greens to one parts brown. This mixture, when aerated assists bacteria, fungi and other microorganisms, as well as worms and other insects, to break down the matter. If all goes well, eventually you get a deep black, nutrient-rich soil.”
The following lists can help you determine what to compost. Remember the smaller the items are, the quicker they break down. It isn’t necessary to cut up everything, but it can certainly expedite the process.
Things you can compost:

- fruit and vegetable scraps
- grass clippings from an untreated, non-chemical lawn
- branches and twigs
- dead leaves
- coffee grounds
- coffee filters
- natural tea bags
- loose leaf tea
- paper food ware like plates, napkins and towels
- paper bags
- matte paper
- toilet paper rolls and paper towel rolls
Things you should not compost:
- diseased plants
- glossy paper such as magazines or gift wrap due to chemicals in ink
- animal feces
- human feces
- oil and fatty foods – can attract pests
- walnuts
Things you should compost with caution:
- Crackers, bread, pasta or grains can potentially attract pests
Building a Compost Bin
Now that you know the in’s and out’s of hot composting, the fun part comes in, building a compost bin. An internet search for compost bins yields a lot of options for prefabricated, often expensive bins as well as plans for building your own bin out of a variety of materials. Building your own bin can be a fun and rewarding project that helps you manage your compost effectively while also utilizing the building skills you may have and the time you have to make one.
DIY Compost Bin Options
There are several popular DIY compost bin options. Examples are a wooden slat bin with one or multiple bins, a wooden pallet bin, mesh wire and wood bins, chicken wire bins or plastic tub bins. All of these have benefits as well as drawbacks. The wooden and pallet bins all require precise measuring and cutting which means basic knowledge of woodworking, having tools available and also purchasing expensive lumber.
With all the compost bin plans available and ideas of how to make one, it can be overwhelming to choose and know which is the right one for your home. The best homemade compost bin in our opinion is the trashcan tumbler compost bin. It meets all our criteria for an overall great composting bin that anyone can afford and can make on their own. The materials are very affordable and easy to source. This bin doesn’t require following elaborate plans or having special woodworking knowledge. It’s quick and easy to make for anyone and all that is needed is a drill. If you find your compost needs exceed one bin, it’s very easy to replicate and do so quickly. This compost bin option is great because it also keeps out critters because of how contained it is while still getting the job done.
The only real drawbacks are that it MUST have enough holes drilled for proper aeration, otherwise it won’t work well. It also requires manually strapping on bungee cords and rolling around weekly which does require some effort. But due to the size, it is relatively easy for most. The trashcans are plastic which isn’t ideal but does make this a pretty durable option while also keeping the costs down.
Trash Can Compost Bin
Estimated Total Cost: $35.00
Estimated Time: 1 hour max
Materials Needed:
- 32 gallon plastic trash can tumbler style with lid – Rubbermaid and Blue Hawk are good options and available at Lowe’s (or larger if preferred)
- 2 2ft bungee cords
- Electric drill with large drill bits – 1/2” is preferable or larger
- A cement paver – 16” x 16” minimum size
- 4 bricks
- Starter scraps – a mix of browns and greens to start your compost
Procedure:
Step 1
Begin by drilling a minimum of 15 holes in the lid, trying to space them evenly apart. If eyeing things isn’t your forte, use a tape measure and sharpie before drilling to mark the spots where the holes will go. Holes are crucial for aeration so it doesn’t hurt to have a few more than you think you need.
Step 2
Turn your trashcan over and drill a minim of 15 holes. Again, if eyeing things isn’t appealing to you, use a tape measure and sharpie before drilling to mark the spots where the holes will go.
Step 3
Now it’s time to drill the can. Begin by drilling (or marking then drilling) four holes roughly equal distance from one another right below the lid line. The holes should look like a lower case t from above if you can imagine that. They need to be at north, south, east and west because the bungee cords will go into these horizontally and vertically to cross and hold the lid on tight.
Step 4
Now it’s time to drill the body of the can. Begin by visually splitting the trashcan into four sides (even though it’s a circle, just go with this. It makes the process easier!) Use scotch tape to mark the sides if necessary. Next, drill a minimum of 15 holes per side, starting with one side at a time. If it appears to need more, then feel free. Remember that if you can’t eye this out, go ahead and measure and mark with a sharpie the spots to be drilled prior to drilling. Do this with each side then you’re done with the hard part.
Step 5
Now pick your spot in your yard for your compost. Making it close and accessible to a backdoor or porch makes it more likely you’ll use it regularly, especially in inclement weather when you don’t want to go outside. Once you’ve chosen your spot, place your cement paver down and make sure it’s relatively flat.
Step 6
Place your four bricks down into either a square or diamond with only the four inner corners touching leaving a space in the middle. This is to ensure your trashcan sits up and has space to drain excess juice if needed.
Step 7
Begin using your compost! Fill with appropriate ratios of greens and browns to begin then add as necessary. About once a week go out, secure your lid with the bungee cords(it should look like an x). Once secured, pull the can off the bricks and put on its side to roll around. This method makes sure the compost is turned without having to open it weekly and hand turn it.
Once your bin is built you’re on your way to creating a more sustainable future while also ensuring next season’s garden will have super dense soil to grow your plants in and help them to thrive. Composting is a fun and rewarding undertaking with many benefits. If you find you really love it or need more compost, building another bin is easy, affordable and quick. Enjoy your composting journey and feel proud of just how much waste you’re keeping from landfills and giving back to the Earth in a usable form.

